borderless printing problems
When printing borderless printouts, follow these guidelines:
●
Verify that the paper size specified in the
Size is
drop-down list on the
Paper/Quality
tab matches the size of the paper loaded in the In tray.
●
Select the appropriate paper type in the
Type is
drop-down list on the
Paper/Quality
tab.
●
If printing in grayscale, select
High Quality
under
Print in Grayscale
on the
Color
tab.
●
Do not print borderless documents in
ink-backup mode
. Always have two print
cartridges installed in the printer.
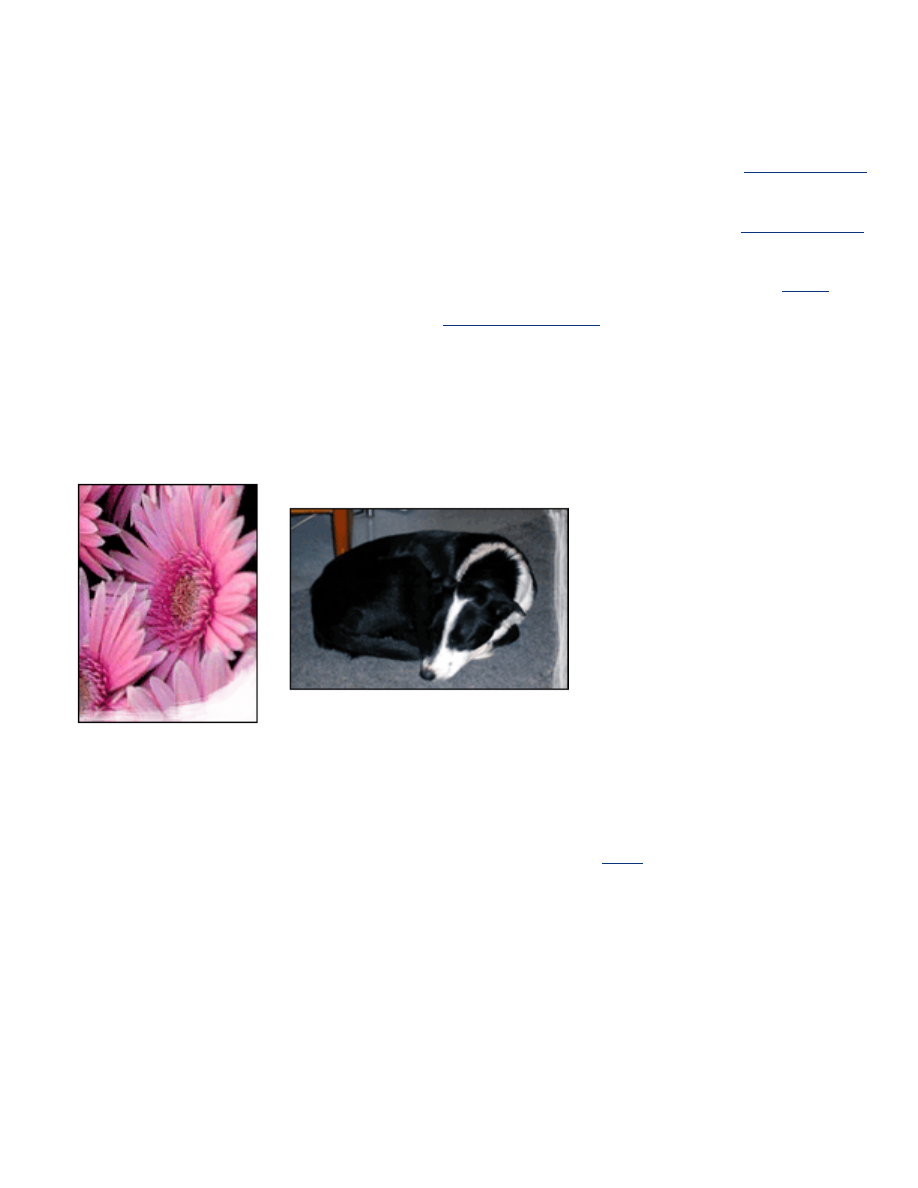
part of the photograph is faded
fading occurs on the edges of a printout
Verify that photo paper is not curled. If the photo paper is curled, place the paper in a
plastic bag and gently bend it the opposite direction of the curl until the paper lies flat. If
the problem persists, then use photo paper that is not curled.
For instructions on preventing photo paper from curling, click
here
.
fading occurs near the edges of a printout
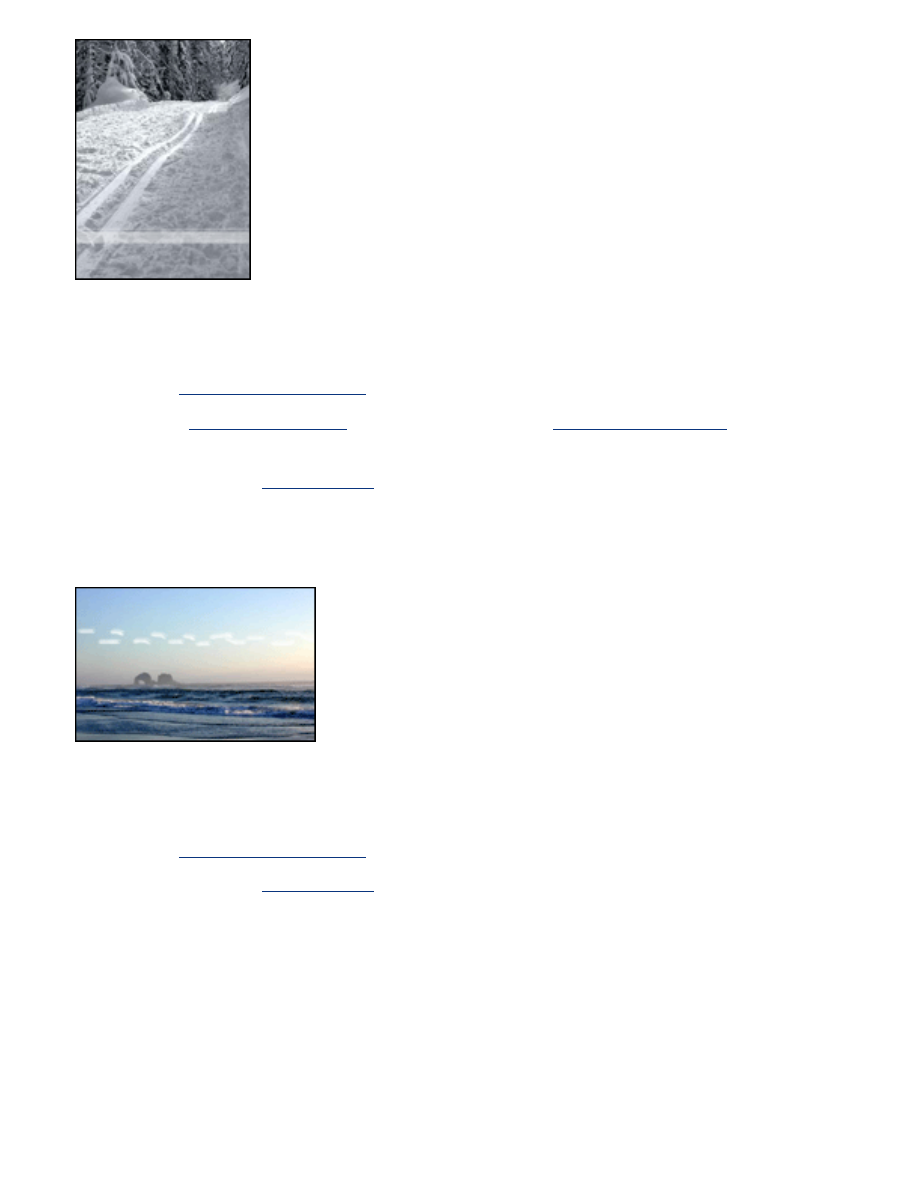
If fading occurs approximately 1 to 2.5 inches from the edge of a photograph, try the
following:
●
Install a
photo print cartridge
in the printer.
●
Open the
Printer Properties
dialog box, select the
Paper Type/Quality
tab, then set
the
Print Quality
to
Maximum dpi
.
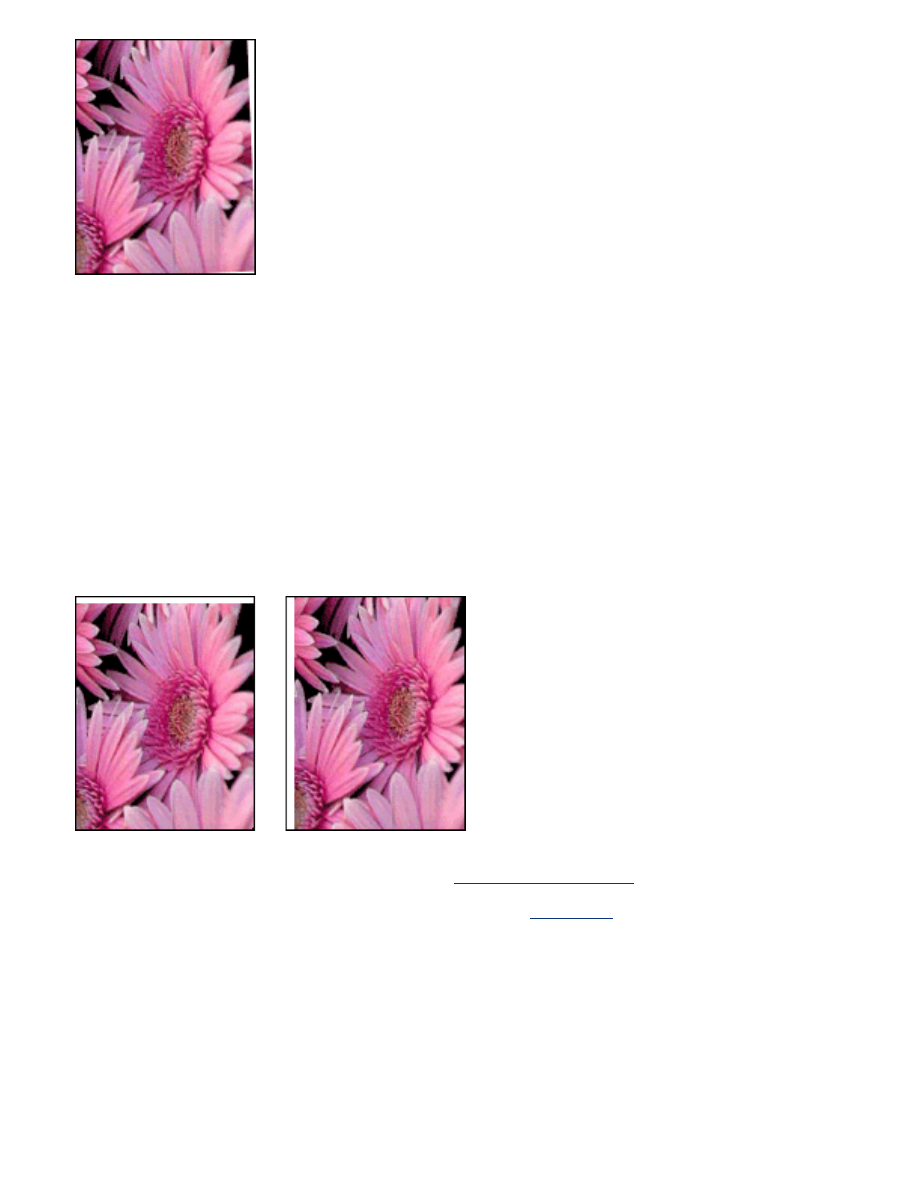
●
Rotate the image
180 degrees
.
streaks appear in a light portion of a printout
If streaks appear in a light portion approximately 2.5 inches from one of the long edges of
a photograph, try the following:
●
Install a
photo print cartridge
in the printer.
●
Rotate the image
180 degrees
.
image is printed at an angle
Follow these steps if the image is printed at an angle:
1. Remove all paper from the In tray.
2. Load the photo paper correctly in the In tray.
3. Verify that the paper guides fit
firmly
against the media.
4. Follow loading instructions for the media type.
printout has an unwanted border
for most photo paper types
If the printout has an unwanted border, then
calibrate the printer
.
If printing a two-sided document, print the document
manually
rather than automatically.
for photo paper with a tear-off tab
If the border appears below the tear-off tab, then remove the tab.
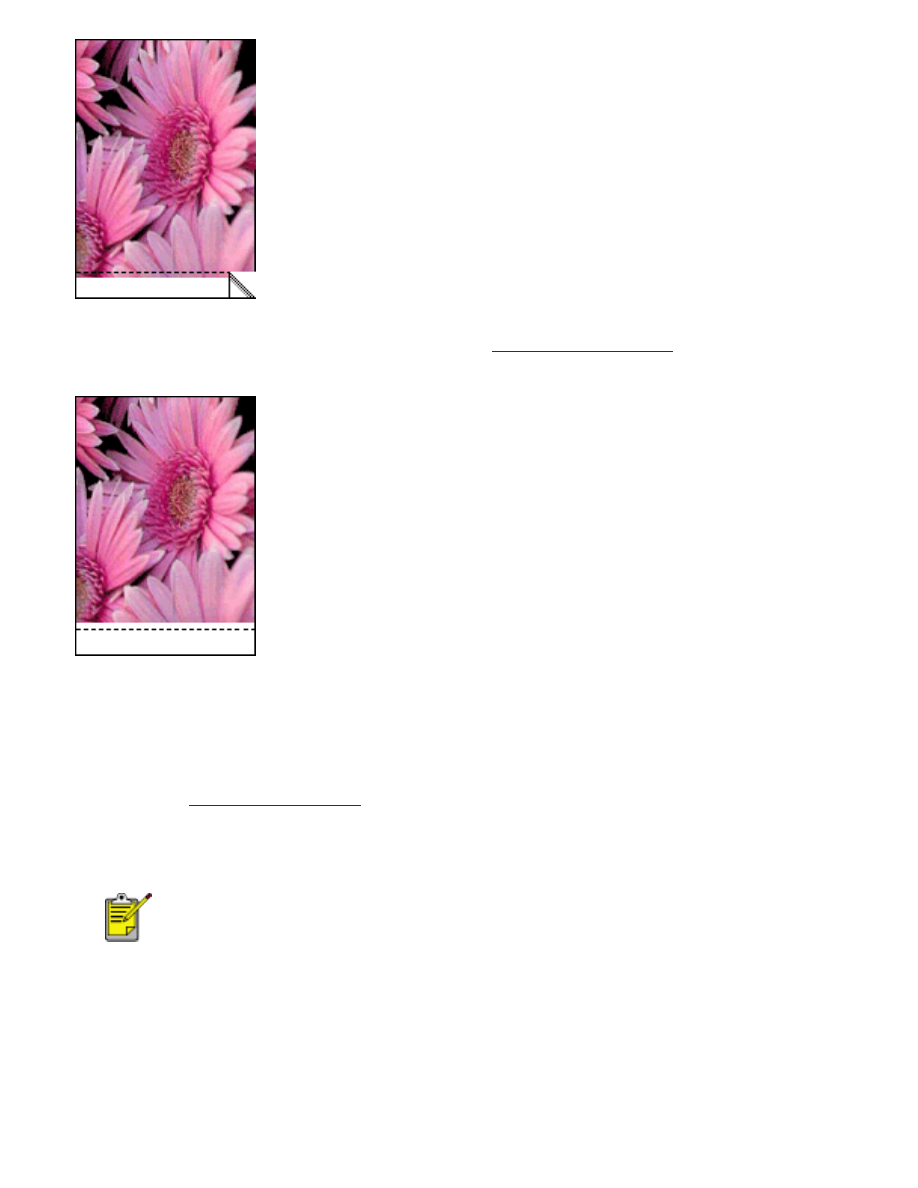
If the border appears above the tear-of tab, then
calibrate the printer
.
ink smears
Follow these steps if ink smears appear on the back of the printouts, or the paper sticks
together.
1. Open the
Advanced Features
dialog box.
2. Move the
Dry Time
slider toward
More
.
3. Move the
Ink Volume
slider toward
Light
.
The colors in the image may become lighter.
4. Click
OK
.
If the problem persists:
1. Remove the borderless printing media, then load plain paper in the In tray.
2. Press and hold down the
Resume
button until the printer starts printing a self-test
page, then release the button.

3. Repeat step 2 until the self-test has no ink smears on the back of the paper.